It's useful to know which part of a country your visitors are coming from. You might show region specific content, helping users to find information easier.
This post explains how to add location specific headers to your requests using Cloudflare Workers.
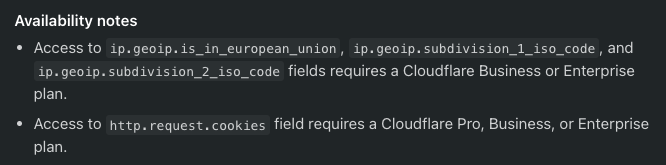
Cloudflare allows you to create transformation rules for modifying HTTP headers. Transformation rules are easy to set up, but adding region specific headers need a Cloudflare Business or Enterprise plan.
The other option is to write a Worker, which injects the location headers for us. Let's see how we can do this.
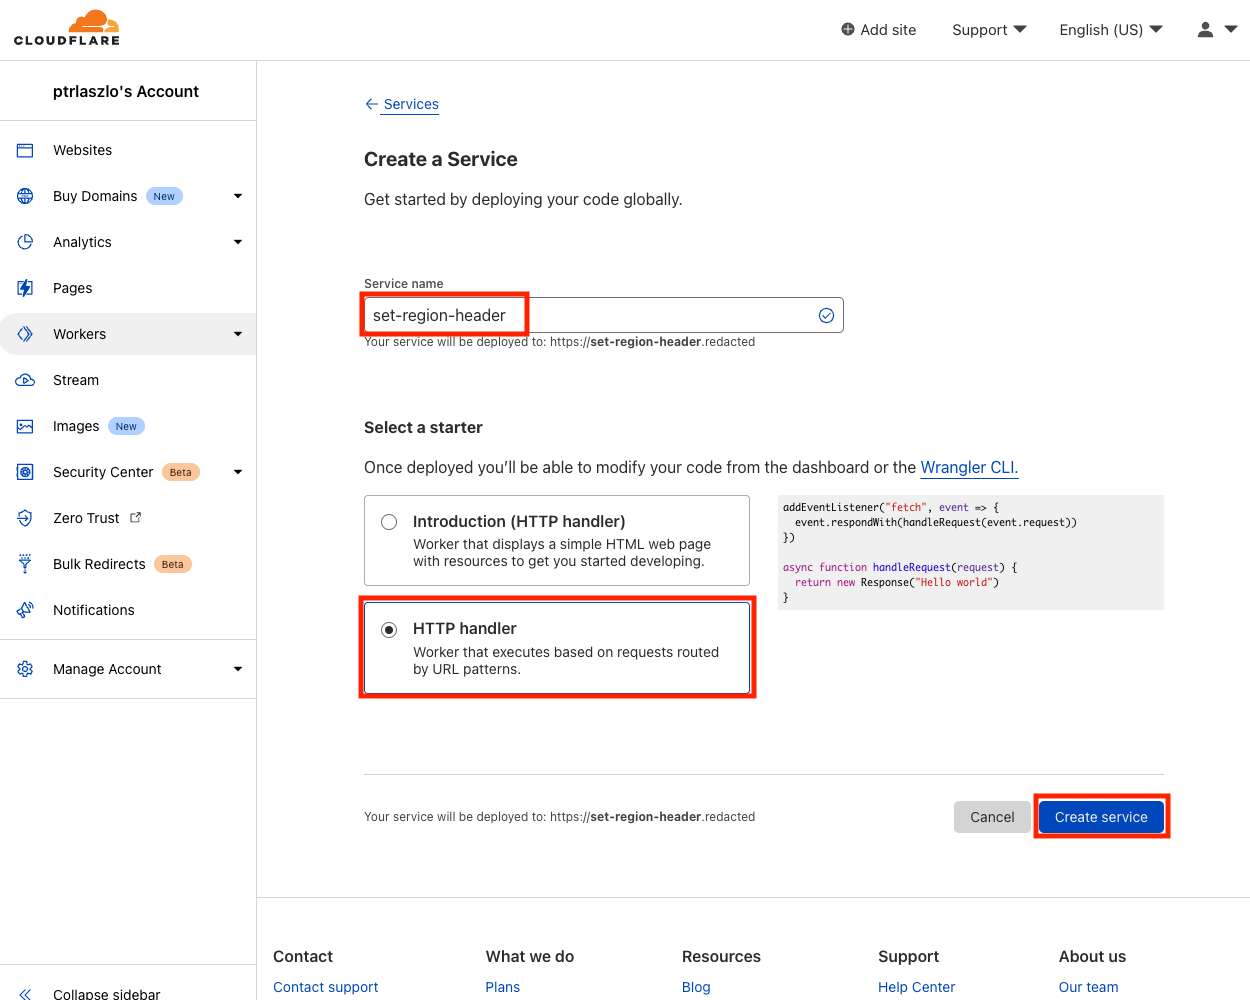
Open your Cloudflare Dashboard and create a new worker. Choose a name, select the "HTTP handler" template and click "Create service".
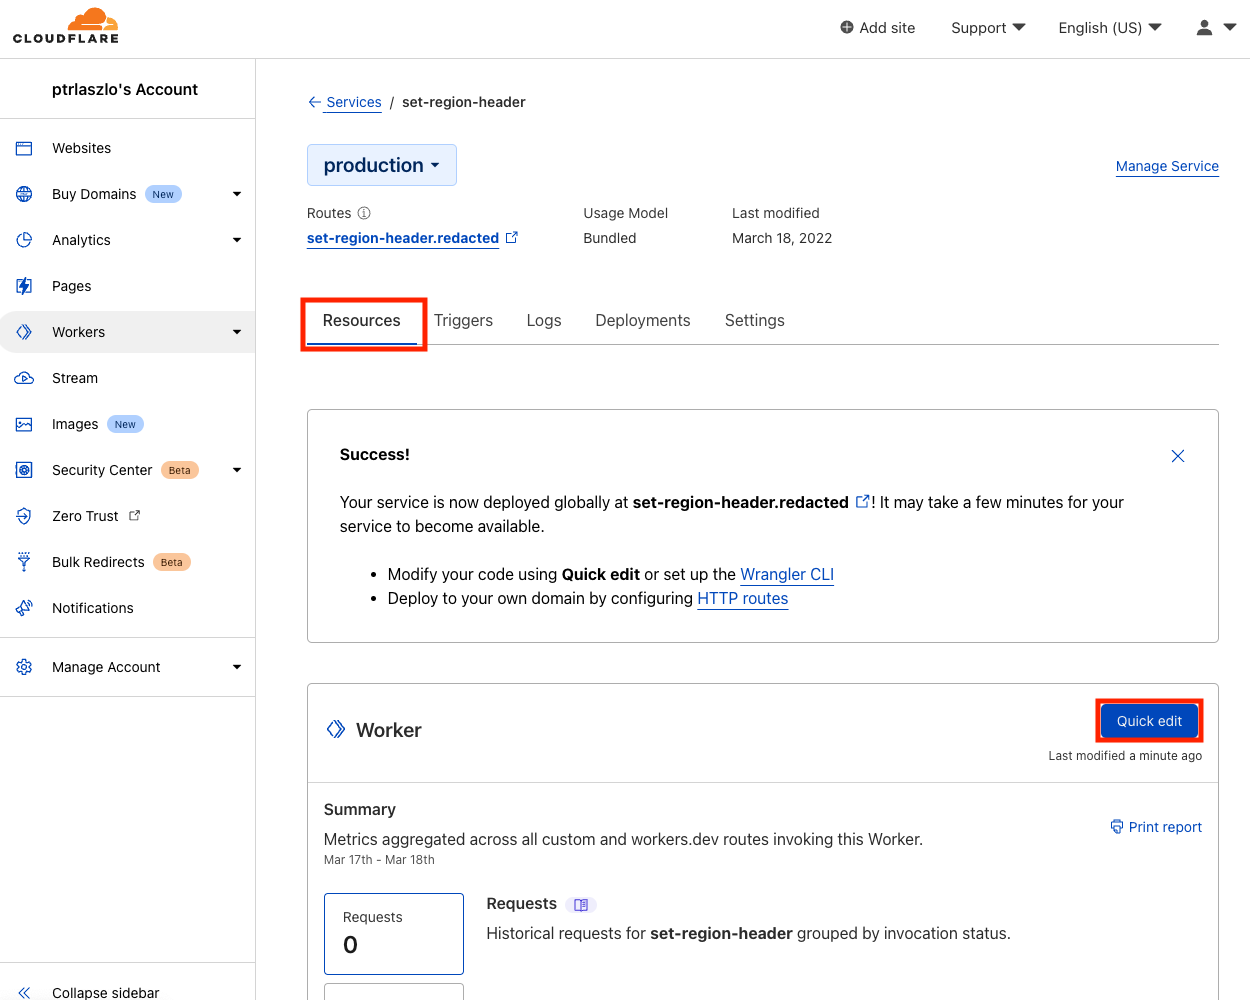
Once we create the worker, we need to change the sample code to inject location headers to the request. Click the "Quick edit" button under the "Resources" tab, to open the code editor.
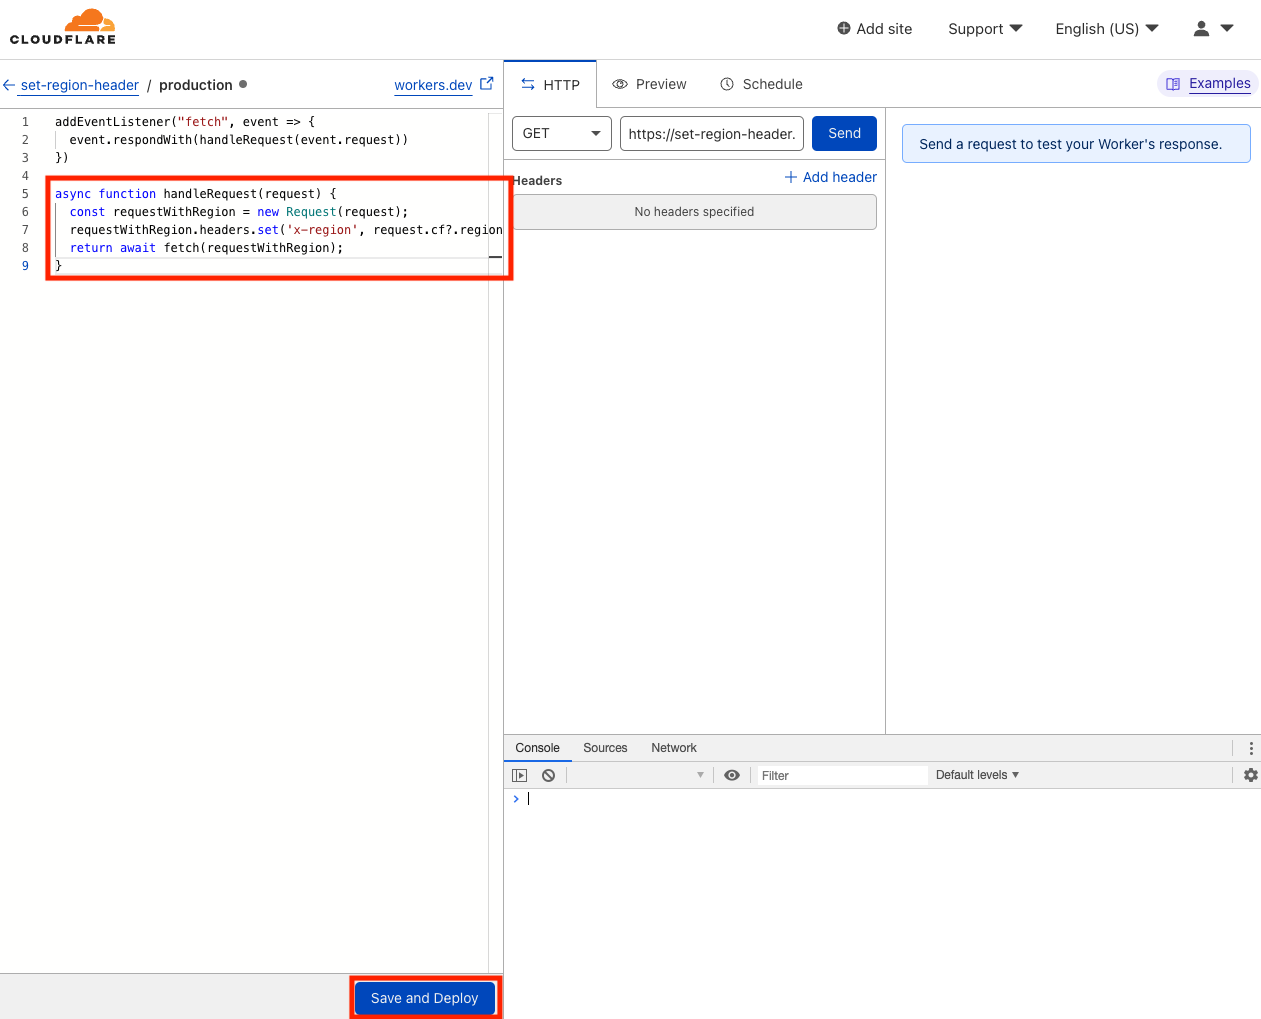
Add the following code to your worker:
addEventListener("fetch", event => {
  event.respondWith(handleRequest(event.request))
})

async function handleRequest(request) {
  const requestWithRegion = new Request(request);
  requestWithRegion.headers.set('x-region', request.cf?.regionCode);
  return await fetch(requestWithRegion);
}
The handleRequest function starts with creating requestWithRegion. We need this, since the request parameter is immutable and we can't add new headers to it. In the next step, we add the x-region header containing the region code from the cf object.
There are many location properties you can use from the cf object. Some examples are postalCode, metroCode, region or regionCode. I couldn't find the documentation about the properties of the cf object. There is however a geolocation example listing all geolocation data fields.
Click "Save and Deploy" in the editor and your worker will be ready to accept requests.
Once the code of the worker is changed and saved we need to set when it's going to be executed. You can set what URLs should trigger the worker under the "Triggers" tab.
Enter the route which should trigger the worker and set the corresponding zone. In the example below I'm using wildcards to have it attached on every URL of ptrlaszlo.com.

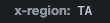
That's it. These are all the steps needed to set up the worker. After this, the requests hitting your server will contain the extra header:
Cloudflare makes it easy to add extra functionality on the edge. This is a simple example, but can make the user experience more pleasant.
P.S. I'm ptrlaszlo on twitter, follow me for more stories.